If you’re planning on giving your kitchen a fresh new look without breaking the bank, cabinet painting is a great way to go. Not only is it cost-effective, but it’s also a simple and quick process that can give your kitchen a complete makeover in just a few days. However, before you start painting, there are a few things you should know to ensure that the end result is exactly what you’re hoping for. In this guide, we’ll be sharing expert tips for prepping your cabinets for painting.
Clean Thoroughly
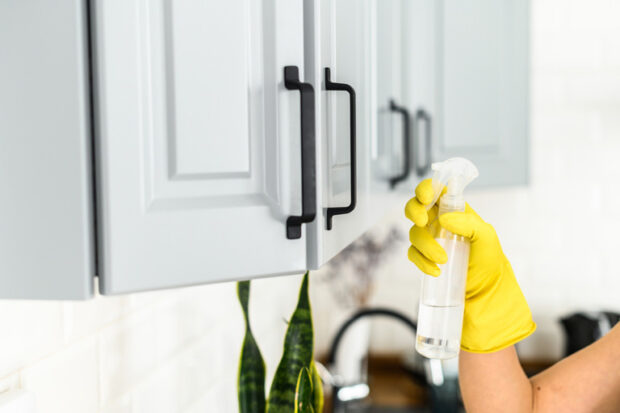
Before you do anything, it’s important to give your cabinets a thorough cleaning. Grease, grime, and dirt can build up on them over time, and if you don’t remove them before painting, the paint won’t adhere properly. Use a mixture of warm water and dish soap to wipe down the surfaces of your cabinets. For tougher stains, you can use a mixture of vinegar and water. Make sure you remove all the dust and debris from its surfaces with a damp cloth and allow them to dry completely before you start painting.
Remove Hardware and Doors
To ensure that you get an even coat of paint, it’s important to remove all the hardware and doors from your cabinets. This will give you easy access to all the surfaces, and you won’t have to worry about painting around handles, hinges, and other hardware. Use a screwdriver to remove the hinges and knobs from your cabinet doors, and place them in a plastic bag so that you don’t lose them. You can use painter’s tape to label the doors and drawers so that you know where they go when you’re ready to reassemble them.
Fill Holes and Cracks
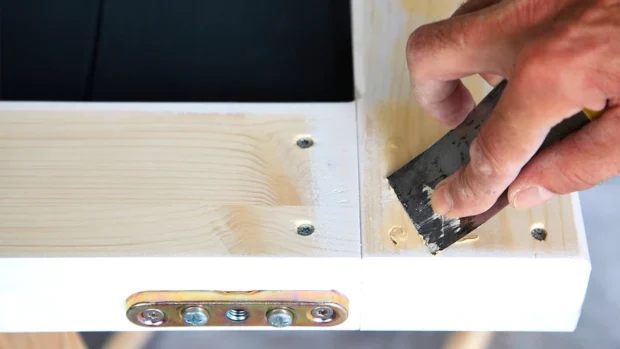
If there are any holes or cracks in your cabinets, it’s important to fill them before you start painting. Use wood filler to fill any gaps or holes, and sand the surface smooth once the filler has dried. If you skip this step, the paint will highlight the imperfections on its surface, and your final result won’t look as professional.
Sand the Surface
Sanding is an essential step in the cabinet painting process. It not only smooths out the surface, but it also helps the paint adhere better. Use a fine-grit sandpaper to sand down the surface of your cabinets. Make sure to sand in the direction of the grain, and wipe down the surface with a tack cloth to remove any dust or debris.
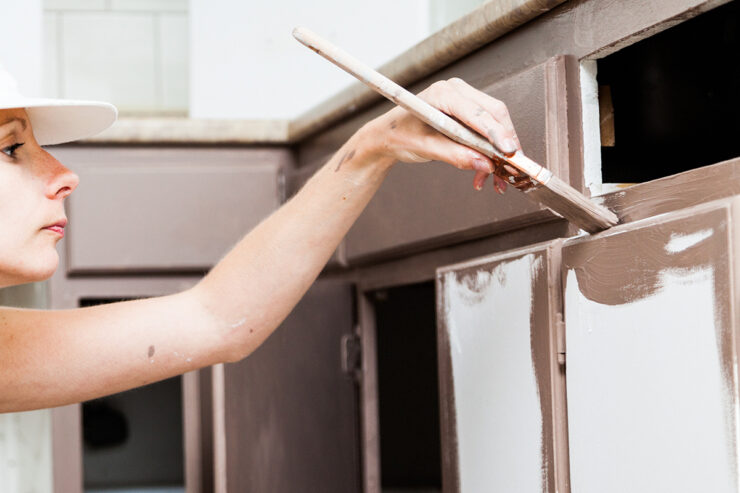
Prime the Surface
Now that your cabinets are clean, sanded, and free of any imperfections, it’s time to prime the surface. A good primer will ensure that your paint adheres properly, and it will also help to prevent any stains or tannins from bleeding through. Use a high-quality primer specifically designed for use on cabinets, and apply it evenly with a brush or roller. Make sure to follow the manufacturer’s instructions for drying time before you start painting.
Paint the Cabinets
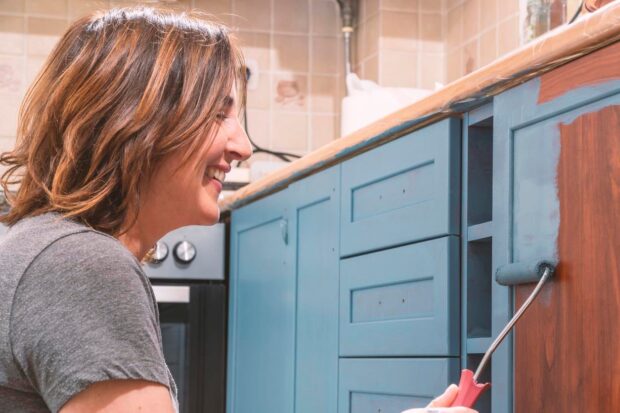
Finally, it’s time to paint the cabinets. Use a high-quality paint specifically designed for use on them, and apply it evenly with a brush or roller. Make sure to follow the manufacturer’s instructions for drying time, and apply a second coat if necessary. Allow the paint to dry completely before reattaching the doors and hardware.
All in All
In conclusion, prepping your cabinets for painting is an essential step in achieving a professional-looking finish. Cleaning, removing hardware and doors, filling holes and cracks, sanding, priming, and painting are all crucial steps in the process. With the right tools, materials, and a little bit of patience, you can transform your kitchen cabinets into a work of art that you’ll be proud to show off.