A hardwood floor is a beautiful thing. The warm glow it gives off, the deep color, and the way it blends with other elements in your home are all part of what makes it such a timeless feature of any home décor. But time can take its toll on even the most resilient of floors.
If you’ve got a wood floor that’s been damaged by scratches or stains and needs some love, but you don’t want to hire someone else to do it for you, read on! We’ll show you how sanding and staining wood floors work from the start to finish so that you can get back to enjoying all those benefits we listed above.
Remove the furniture from the room

The first step in sanding and staining wood guides is to remove all furniture from the room. It’s not necessary to remove baseboards, but you should cover them with plastic or tape. If you can’t remove your furniture, cover it with plastic or something else that will protect it from any stains that may be left behind if the stain gets on it.
Inspect and repair the floor
Once you’ve determined that your floor is structurally sound, it’s time to inspect and repair any damage. Whether it’s a loose board, a gap or crack between two boards, or nail holes from an old piece of furniture, these imperfections will be exacerbated by sanding. If a problem spot is too large to fill with wood filler alone, you may need to replace some boards. This isn’t as difficult as it sounds, but you should know what kind of wood was used in the original installation so that you can match your new boards as closely as possible when selecting replacements.
Fill in any gaps, cracks, or nail holes with wood putty

Using a putty knife, spread the wood putty over any gaps, cracks, or nail holes. Make sure to spread the putty evenly to avoid creating thin spots on your finished floor. When spreading the putty, use a damp cloth to remove any excess that might be left on top of the floor. Let it dry overnight before the sanding and staining wood begin!
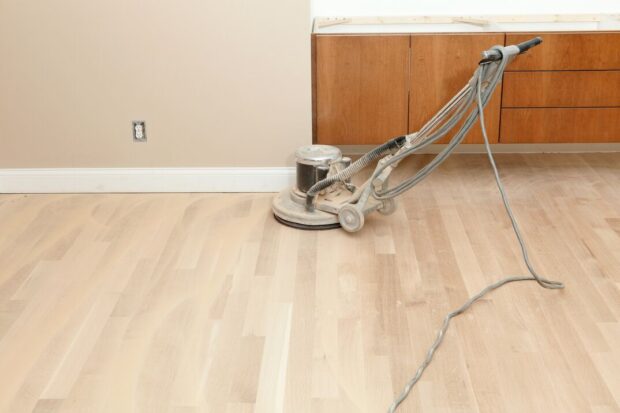
Strip off any old finish using a chemical stripper
In this step of sanding and staining wood floors, you’ll strip off any finish that remains on your floor. You can use a chemical stripper or a combination of sandpaper and a power sander to do the job. Alternatively, you can rent or buy an electric drum sander with a vacuum attachment to remove the old finish from your wood floors. If you want to go all out, consider purchasing a polisher that will remove all finishes from your wood floors and leave them smooth as glass!
Sand with progressively finer grits of sandpaper
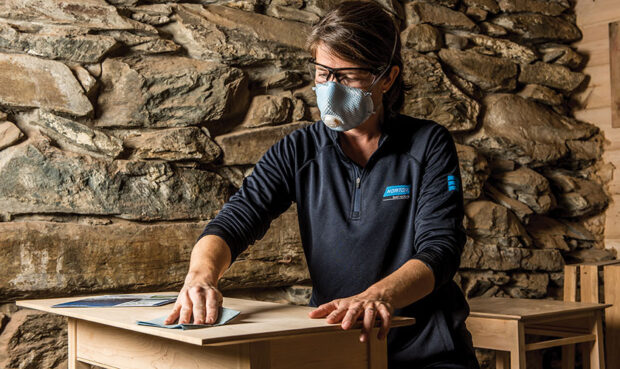
Now that you’ve gotten rid of the finish, it’s time to start sanding. If you have an orbital sander, use it with the most coarse grit of sandpaper (100-grit). For tight corners and other hard-to-reach areas, use a sanding block or soft cloth wrapped around a piece of scrap wood.
Keep in mind when choosing your next grit: You want to go as far as possible without removing any original wood grain. Once that happens, there’s no going back because the floor will look damaged for life! Also, keep in mind that different types of wood require different grits; for example, pine is much softer than oak or maple, so you’ll need less aggressive grades with pine floors.
Sand your floor in the direction of the grain
You may be tempted to move a sanding block back and forth across your floor, but this can leave scratches in the wood. Instead, use light strokes with a sanding block that go in the same direction as the grain of the wood. If you look at your floor from one end and see a pattern of parallel lines, those lines will be made by its natural grain. Follow it!
You should also avoid applying too much pressure when you’re sanding and keep things light so that you don’t damage the surface of your floor or make it splintery.
Carefully vacuum each section before moving on to the next one
At this stage of sanding and staining wood floors, you should vacuum each section of wood before moving on to the next one. This will help ensure that all loose debris and dust are removed, which prevents them from getting trapped in the stain or polyurethane. It also ensures that your floor is completely clean so you can see how well your finish coats are adhering to it.
If you have a wide-pore vacuum cleaner attachment on hand, now is the time to use it! This attachment works best for vacuuming between boards because it has bigger openings than those on standard attachments, which allows it to pick up more dust and debris.
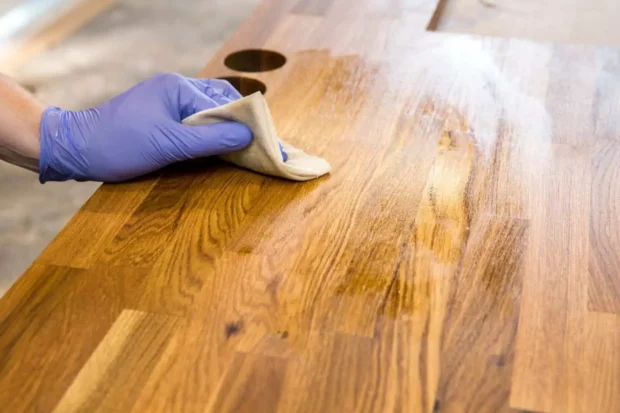
Wipe down the floor with a damp cloth to remove any dust remaining after sanding but don’t saturate the wood
Wipe down the floor with a damp cloth to remove any dust left after sanding but don’t saturate the wood. Don’t use a sponge or paper towels, as these can leave behind lint and fibers in your finish.
Also, avoid using a dry cloth, which can scratch delicate wood finishes like lacquer and shellac. If you have an electric sander, vacuum up any dust that has settled on the ground before wiping it down with water.
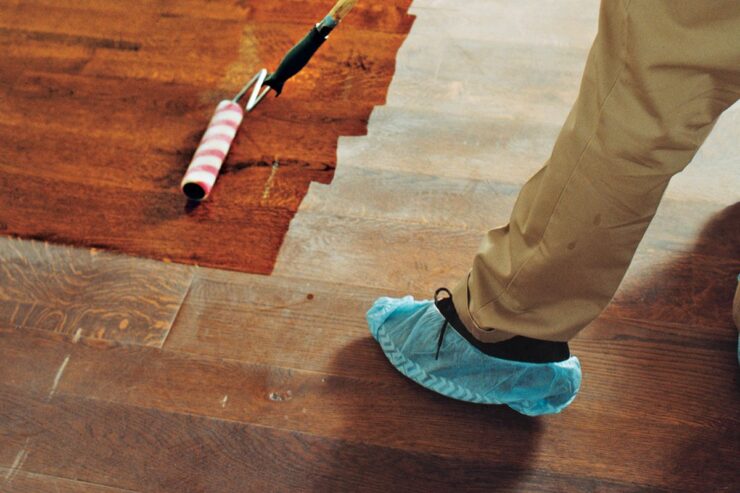
Apply stain, if desired, and finish with a protective top coat
Once your sanding job is done and the floor is ready for stain, apply another coat of sealer. Then, using a cloth or pad, apply the stain to the floor in thin coats. The goal is to achieve a uniform color throughout without having any areas that are too dark or light. Let each coat dry completely before applying another one.
After you’ve applied all of your coats of stain (usually three or four), let it set overnight before adding a protective top-coat finish. This step in sanding and staining wood floors also helps protect against future scratches and spills.
The Bottom Line
Sanding and staining wood is not an easy DIY project, but it isn’t impossible, either. It just takes some patience, some elbow grease, and a little bit of know-how. With those three things in hand (and this guide!), you can make your dream of having beautiful wood come true without paying someone else thousands of dollars.