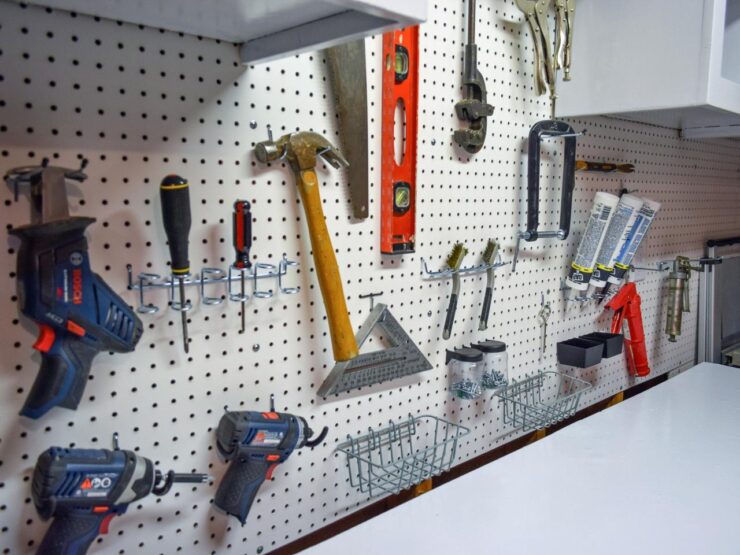
Having a pegboard at your home is the best way to organise your tools and equipment, not only so you can find what you need when it’s time for work but also because it protects valuable materials from being thrown out.
It is a board with consistent patterns of holes used to insert pegs as suggested by what it is called. Therefore, its feature offers a wide variety of ways to use it in organising your home, which is very useful, especially when you have many things.
Are you interested in having one? This article would talk about how to install a pre dotted hardboard and the benefits of using one.
Benefits of Pegboard
As mentioned earlier, the use of pre-drilled hardboard is beneficial for its users and the environment, which is a bit vague, so this section would specify how it became beneficial, which include:
-
- Sustainability. It supports and promotes sustainability because it does not deplete nonrenewable resources, does not directly harm the environment, and was not made in a socially irresponsible way.
-
- Eco-Friendly. It is eco-friendly because it significantly helps in reducing pollution through its creation. Therefore, its process does not involve harmful chemicals that can cause harm to its users.
-
- Aesthetics. Pegboards come in various designs, which makes them not just sustainable but also stylish. So, you can pick from a wide variety of designs that would look aesthetically pleasing for your eyes and match the place you would like to install it.
-
- Maximise Space. It comes very handily, especially in organising your tools, laundry, kitchen supplies, and much more various other things that are needed to be collected. Thus, it is beneficial to fully utilising every part of your house.
Steps in Installing Pegboards
The benefits have been explained. Now, this part of the article would discuss the steps on how a pegboard is installed, so here they are:
1. Prepare Materials. It includes everything you will need: measuring equipment, furring strips, paint, stud finder, drill, screws, and a board organiser set.
Others may not need some of it, but it depends on how you want to make your hardwood board organiser because others would prefer a natural-coloured wood for their leadboards and those who loved to put some colours on it.
So, if you want to apply some colours on your pegboard, it must be done ahead of time to be dry by the time you mount it.
2. Find the Stud. Use the stud finder to find the stud behind the wall, which would help make the mounted board durable because there are cases that you would use to put on some heavy equipment.
3. Install Furring Strips. It is done by holding the strips horizontally across the wall, wherein the wooden board would be mounted, with some space between them.
Also, remember to drill plot holes first through the furring strips before mounting them so that you can match the strip with the wall anchor.
4. Cover the Furring Strips. Install the board over the mounted furring strips so that it would cover them. While protecting it, screw it on the furring strips to secure that the wooden board is correctly mounted on the wall.
Also, the screws must have a similar interval so it would look neatly.
5. Use the Organizer Kit. Install the pre-drilled wooden board with an organiser kit, which must also match the design of the mounted pegboards, so that you could use it for organising kinds of stuff like household equipment, office supplies, and the like.
To sum it up, pegboards are stylish and sustainable products that are used for storage organisation.
It helps make our surroundings look good through a process that also makes our environment healthy, making it an eco-friendly product that gives hope for the younger generation to experience a brighter future.