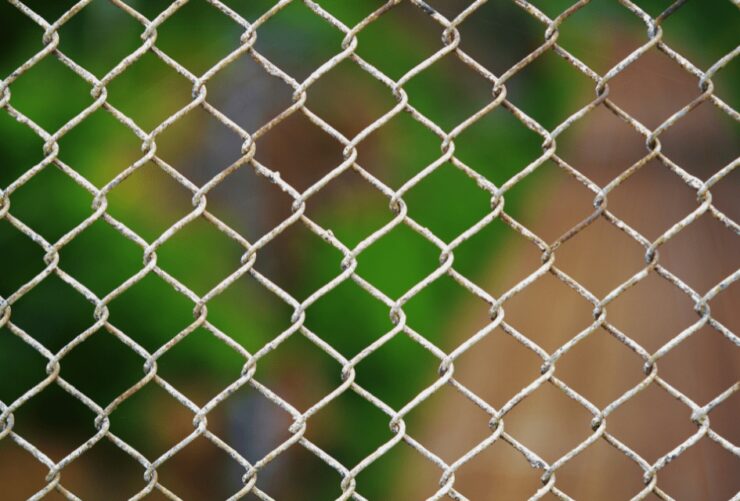
Chainlink fencing was first invented in the UK in 1844. They’re a great way to keep your property secure without spoiling your view. On top of this, the galvanized steel wire used in chainlinks will stand the test of time.
Because of this, chainlink fences have been popular in America since the 1940s. But what happens if you can’t afford to spend thousands of dollars on chainlink installation costs? Fortunately, it is fairly easy to install your own fence.
Read on to find out exactly how to install a chainlink fence.
Installing the Fence Posts
Once you know where you want to build a fence, the first thing you should do is install your fence posts. You will need to dig holes for your fence poles.
Generally, these should measure a third of the ‘above ground’ height. So if your fence post is 6 feet tall, you’ll need a 2-foot deep hole. Each hole should be three times the diameter of the post you are using.
Ideally, you want the bottom of your post hole to be a little wider than the top (a sort of bell shape). That way it will be difficult for the post to lift out.
Once you have the hole ready, you need to position your post in its center and fill it with wet cement. It’s a good idea to create support for the fence post. That way it will remain straight while the cement is drying.
Adding the Bands to Your Posts
Once your posts are in position, you can start getting ready to add your chain link. To secure this in place you will need bands on each post.
The number of bands you need depends on the height of your fence. To figure this out, minus one from the height of your fence. So a six-foot fence will need five evenly-spaced bands. Your corner posts will have double the number of bands facing in alternate directions.
Securing Your Top Rail and Tension Wire
To secure your top rail, you will need to add rail cups to your corner post bands and post tops along your line posts. You can run your top rail through these post tops. The rail cups at either end then simply tighten using a bolt to keep the rail in place.
Use the bands along the bottom of your fence to install your tension wire. You need to wrap this as tightly as possible.
Installing Your Fabric
Once your fence framework is in place, you can lay your chainlink fabric out alongside the outside of the fence. Run a tension bar through one end of the fabric and secure it to one of your corner posts.
Now you can pull the rest of your fabric along the length of your fence to create tension between the links. You will need to use a temporary tension bar and come along at the opposite end to get your chainlink really tight.
Once you know how much fabric you need, you can slide a tension bar between the links at the other end of your fence. You can then secure this in place and remove the come-along.
Measuring your fence boundary will help you reduce waste and keep your chainlink price down. However, to remove extra links, simply cut and remove a single wire from the fence.
Once you have your fabric in place, you can secure your fence along the top and bottom, and to the middle post using wires.
Install a Chainlink Fence for Your Property Today
As you can see, if you want to install a chainlink fence the process is fairly simple, and doing it yourself could save you a lot of money. So what are you waiting for?
For more brilliant homecare and lifestyle tips, keep scrolling now!